Laravel 5.3 Upload Image with Validation example
In this tutorial, i am going to tell how to upload image with validation in Laravel 5.3 and as everyone knows Laravel is going very popular framework.
Laravel has made changes in their library, folder structure and enhance their version with Laravel 5.3
You can easily validate images in Laravel like file max size and lots of new validation option as image dimension for image upload.
- $this->validate($request, [
- 'avatar' => 'dimensions:min_width=200,min_height=300'
- ]);
You can pass following parameter in dimension :
- max_width
- max_height
- width
- height
- ratio
Now just follow simple step to upload your image with your validation rules :
Step 1: RouteIn this step we will define two routes in web.php within routes directory. First route is used to render form view where we will select image and then using second route we will post this form data to controller.
- Route::get('image-upload-with-validation',['as'=>'getimage','uses'=>'ImageController@getImage']);
- Route::post('image-upload-with-validation',['as'=>'postimage','uses'=>'ImageController@postImage']);
In this step we will create ImageController.php.
- <?php
- namespace App\Http\Controllers;
- use Illuminate\Http\Request;
- use App\Http\Requests;
- class ImageController extends Controller
- {
- /**
- * Create view file
- *
- * @return void
- */
- public function getImage()
- {
- return view('upload-image');
- }
- /**
- * Manage Post Request
- *
- * @return void
- */
- public function postImage(Request $request)
- {
- $this->validate($request, [
- 'image_file' => 'required|image|mimes:jpeg,png,jpg,gif,svg|max:1024',
- ]);
- $imageName = time().'.'.$request->image_file->getClientOriginalExtension();
- $request->image_file->move(public_path('images'), $imageName);
- return back()
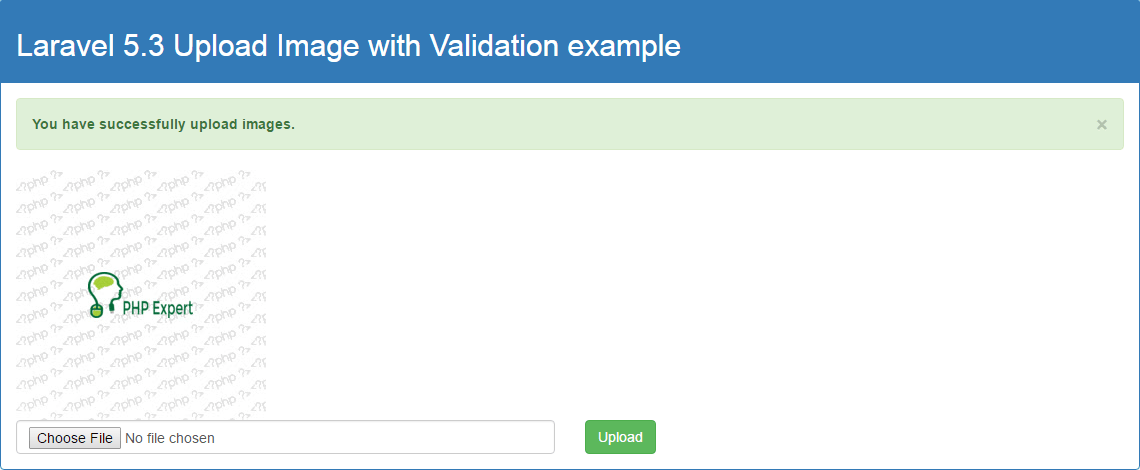
- ->with('success','You have successfully upload images.')
- ->with('image',$imageName);
- }
- }
I move all images in images directory so make sure this directory should have write permission.
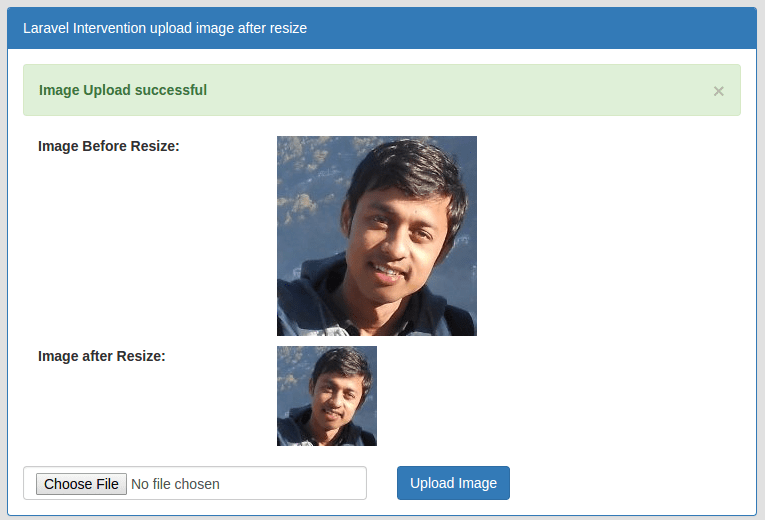
We are redirecting back with success message and image path after successfully uploaded. By using image path we can preview images to make sure what images i had uploaded.
If there is any error with file type then it redirect back with error message that means i have error message in errors variable that will appear where error will exist.
Step 3: Create upload-image.blade.phpIn this step we will create view upload-image.blade.php file for uploading files or images.
- <!DOCTYPE html>
- <html>
- <head>
- <title>Laravel 5.3 Upload Image with Validation example</title>
- <link rel="stylesheet" href="http://getbootstrap.com/dist/css/bootstrap.css">
- </head>
- <body>
- <div class="container">
- <div class="panel panel-primary">
- <div class="panel-heading"><h2>Laravel 5.3 Upload Image with Validation example</h2></div>
- <div class="panel-body">
- @if (count($errors) > 0)
- <div class="alert alert-danger">
- <strong>Whoops!</strong> There were some problems with your input.
- <ul>
- @foreach ($errors->all() as $error)
- <li>{{ $error }}</li>
- @endforeach
- </ul>
- </div>
- @endif
- @if ($message = Session::get('success'))
- <div class="alert alert-success alert-block">
- <button type="button" class="close" data-dismiss="alert">×</button>
- <strong>{{ $message }}</strong>
- </div>
- <img src="images/{{ Session::get('image') }}">
- @endif
- {!! Form::open(array('route' => 'postimage','files'=>true)) !!}
- <div class="row">
- <div class="col-md-6">
- {!! Form::file('image_file', array('class' => 'form-control')) !!}
- </div>
- <div class="col-md-6">
- <button type="submit" class="btn btn-success">Upload</button>
- </div>
- </div>
- {!! Form::close() !!}
- </div>
- </div>
- </div>
- </body>
- </html>
The Form::open method has 'files' => true that means form data will be encoded as “multipart/form-data” so it is required whenever you are going to upload any files with form data.
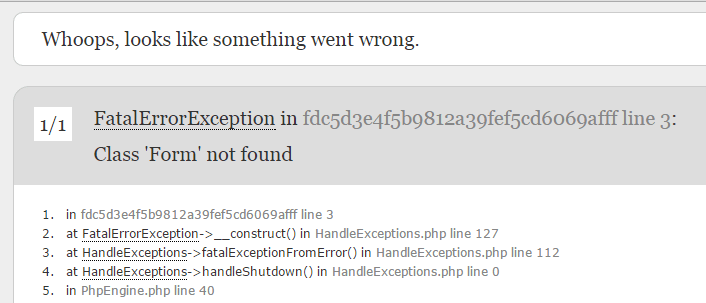
If you are getting error of 'Class Form not found' then follow below link for solution :
Class form or html not found in Laravel 5


.jpg)