Laravel 5 cloudinary upload file and images with example
In this tutorial, I will let you know how to upload files and images on cloudinary server.
Cloudinary provide best service for image and video manipulation on the fly. There is open source PHP library provided by Cloudinary.
There are lots of benefits to store your media files, images and videos on the Cloudinary that is cloud based service.
Main Features- Cloudinary deliver the responsive images.
- Easily optimize the images.
- Media files will be delivered through a fast CDN.
- Easily integrate with the web and mobile application.
There is cool feature of cropping images on the fly.
In this example, we will upload the images on cloudinary using jrm2k6/cloudder package.
First, I will install jrm2k6/cloudder package using composer.
composer require jrm2k6/cloudder:0.4.*
Now add the following line with cloudinary information in your .env file.
CLOUDINARY_API_KEY=`your key`
CLOUDINARY_API_SECRET=`your secret`
CLOUDINARY_CLOUD_NAME=`your cloud name`
You will get the cloudinary information from Cloudinary.
Now open config/app.php file and add following service provider and aliases in respective array :
'providers' => array(
  'JD\Cloudder\CloudderServiceProvider'
);

'aliases' => array(
  'Cloudder' => 'JD\Cloudder\Facades\Cloudder'
);
Run following command to publish :
php artisan vendor:publish --provider="JD\Cloudder\CloudderServiceProvider"
After running above command, you will get cloudder configuration file in following path config/cloudder.php
There you can change the following settings :
CLOUDINARY_BASE_URL
CLOUDINARY_SECURE_URL
CLOUDINARY_API_BASE_URL
Add Routes
In this step, add following routes in your routes/web.php file.
Route::get('get-file', 'CloudderController@getFile');
Route::post('upload-file', ['as'=>'upload-file','uses'=>'CloudderController@uploadFile']);
Create CloudderController
Now create "CloudderController" in following path app/Http/Controllers to handle the request.
- <?php
- namespace App\Http\Controllers;
- use Illuminate\Http\Request;
- class CloudderController extends Controller
- {
- public function getFile(){
- return view('cloudder');
- }
- public function uploadFile(Request $request){
- if($request->hasFile('image_file')){
- \Cloudder::upload($request->file('image_file'));
- $c=\Cloudder::getResult();
- if($c){
- return back()
- ->with('success','You have successfully upload images.')
- ->with('image',$c['url']);
- }
- }
- }
- }
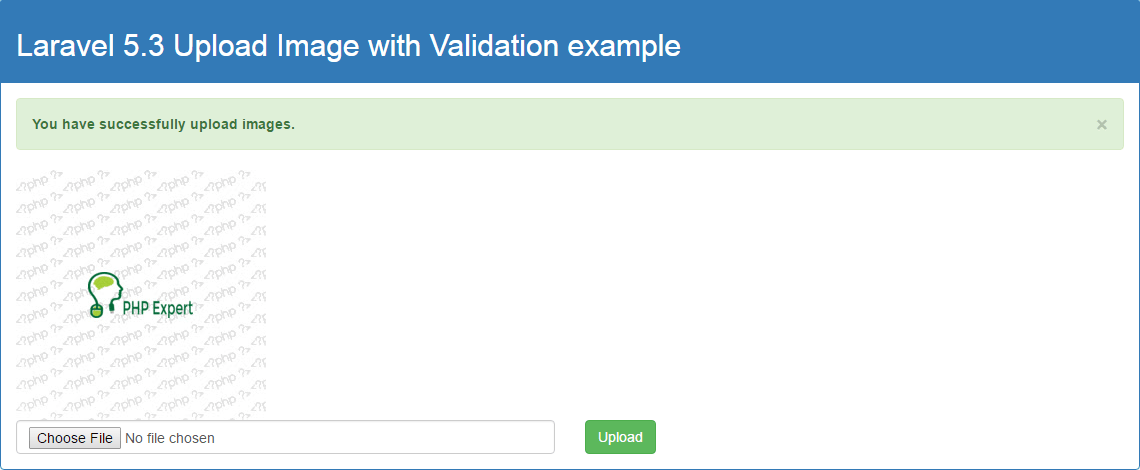
Finally create a "cloudder.blade.php" file to render HTML form to upload files.
- <!DOCTYPE html>
- <html>
- <head>
- <title>Laravel 5 cloudinary upload file and images with example</title>
- <link rel="stylesheet" type="text/css" href="https://maxcdn.bootstrapcdn.com/bootstrap/3.3.7/css/bootstrap.min.css">
- </head>
- <body>
- @if ($message = Session::get('success'))
- <div class="alert alert-success alert-block">
- <button type="button" class="close" data-dismiss="alert">×</button>
- <strong>{{ $message }}</strong>
- </div>
- <img src="{{ Session::get('image') }}">
- @endif
- {!! Form::open(array('route' => 'upload-file','files'=>true)) !!}
- <div class="row">
- <div class="col-md-6">
- {!! Form::file('image_file', array('class' => 'form-control')) !!}
- </div>
- <div class="col-md-6">
- <button type="submit" class="btn btn-success">Upload</button>
- </div>
- </div>
- {!! Form::close() !!}
- </body>
- </html>
$c=\Cloudder::getResult(); will return following output :
array:15 [▼
  "public_id" => "sample"
  "version" => 1499596361
  "width" => 864
  "height" => 576
  "format" => "jpg"
  "resource_type" => "image"
  "created_at" => "2017-07-09T10:32:41Z"
  "tags" => []
  "bytes" => 120253
  "type" => "upload"
  "etag" => "14500e08ec2701bfd36a8e9a5585261e"
  "url" => "http://res.cloudinary.com/demo/image/upload/v1499589454/sample.jpg"
  "secure_url" => "http://res.cloudinary.com/demo/image/upload/v1499589454/sample.jpg"
  "original_filename" => "sample"
]
You can save required details into your database. You can use public id to destroy images in following way :
Cloudder::destroyImage($publicId, array $options)
Cloudder::delete($publicId, array $options)


.jpg)