Sometime you upload image in database from summernote input text editor directly then you will ever notice then image upload into database in format of Base62.
Upload in Base62 format is not the right way because there are number of characters that represent binary data in an ASCII string format.
I will tell you here how you can get image url and how can you store image path in database instead of Base64 string.
Use "intervention/image": "dev-master" package to work with image handling.
So first update composer to include library of intervention image.
After update composer, add service provider in the $providers for this package.
Intervention\Image\ImageServiceProvider::class
Now add facade for this package to $aliases.
'Image' => Intervention\Image\Facades\Image::classStep1: Form
Create a form with textarea input field and add a class summernote to make summernote editor.
- {!! Form::open(array('route' => 'summernote.postForm','method'=>'post','class'=>'post-reply','files'=>true)) !!}
- <div class="col-xs-12 col-sm-12 col-md-12">
- <div class="form-group">
- <strong>Message:</strong>
- {!! Form::textarea('message', NULL, array('placeholder'=>'Write your comment','rows'=>3,'class'=>'form-control summernote')) !!}
- </div>
- </div>
- <div class="col-xs-12 col-sm-12 col-md-12 text-center">
- <button type="submit" class="btn btn-primary">Submit</button>
- </div>
- {!! Form::close() !!}
Now add these two route in your routes.php to call controller method for getting summernote form and post summernote data image upload into database.
- Route::get('summernote-image-upload',array('as'=>'summernote.getForm','uses'=>'FileController@getSummernote')) ;
- Route::post('summernote-image-upload',array('as'=>'summernote.postForm','uses'=>'FileController@postSummernote')) ;
Now create a method where i use intervention image facade to work with image.
- public function getSummernote(){
- return view('files.summernoteform');
- }
- public function postSummernote(Request $request){
- $this->validate($request, [
- 'message' => 'required'
- ]);
- $message=$request->input('message');
- $product=new Product;
- $dom = new DomDocument();
- $dom->loadHtml($message, LIBXML_HTML_NOIMPLIED | LIBXML_HTML_NODEFDTD);
- $images = $dom->getElementsByTagName('img');
- // foreach <img> in the submited message
- foreach($images as $img){
- $src = $img->getAttribute('src');
- // if the img source is 'data-url'
- if(preg_match('/data:image/', $src)){
- // get the mimetype
- preg_match('/data:image\/(?<mime>.*?)\;/', $src, $groups);
- $mimetype = $groups['mime'];
- // Generating a random filename
- $filename = uniqid();
- $filepath = "/summernoteimages/$filename.$mimetype";
- // @see http://image.intervention.io/api/
- $image = Image::make($src)
- // resize if required
- /* ->resize(300, 200) */
- ->encode($mimetype, 100) // encode file to the specified mimetype
- ->save(public_path($filepath));
- $new_src = asset($filepath);
- $img->removeAttribute('src');
- $img->setAttribute('src', $new_src);
- } // <!--endif
- } // <!-
- $product->message = $dom->saveHTML();
- $product->save();
- }
Now add script to change setting of summernote editor, there are so many settings that you can use.
- $('.summernote').summernote({
- height: 200
- });
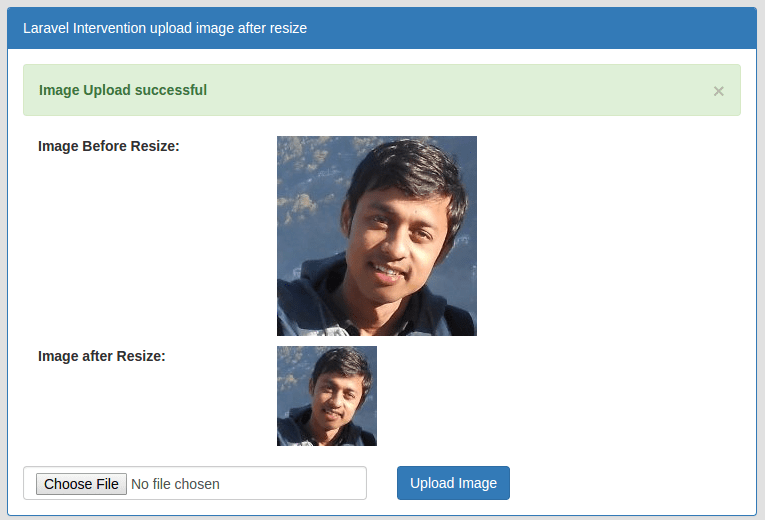
By using Intervention image library, you can resize your image in any size. See the code below to resize image.
- $image = Image::make('myimage.jpg')->resize(200, 100);
- return $image->response('jpg');


.jpg)