Voyager - Backend Admin Panel Package for Laravel 5
In this post, i will tell you how to create backend admin panel in Laravel 5.
I here use voyager package to create admin panel in Laravel easily.
From Admin, you will manage all the data and flow of website so it is necessary for every website to have their admin panel.
Voyager known as Laravel Admin & BREAD System (Browse, Read, Edit, Add and Delete).
In this example, i will tell you step by step process to install voyager package in your laravel application from scratch so that you can start with some basic stuff.
First we will explore some amazing functionality of Voyager package.
- MEDIA MANAGER
- MENU BUILDER
- DATABASE MANAGER
- BREAD/CRUD BUILDER
There are lots of functionality with Voyager package you can explore all these functionality once you have installed it in your application by given below example.
There are also video tutorial available on their official website with documentation and you will get link below of this example.
Step 1 : Install Laravel 5.3You need to first install laravel application by using following command.
composer create-project --prefer-dist laravel/laravel blog
By running above command through command line, a laravel application will be installed with blog directory name.
Step 2 : Include Voyager PackageAfter having laravel application, you will have to include Voyager Package with the following command :
composer require tcg/voyagerStep 3 : Database Configuration
In this step, you will need to make sure to create a new database and add your database credentials in .env file.
DB_HOST=localhost
DB_DATABASE=homestead
DB_USERNAME=homestead
DB_PASSWORD=secret
Step 4 : Add Voyager ServiceProvider
Now in this step you will need to add Voyager ServiceProvider to the config/app.php file in the provider array :
...
'providers' => [
	...
	TCG\Voyager\VoyagerServiceProvider::class,
	Intervention\Image\ImageServiceProvider::class,
]
...
Step 5 : Install Voyager
Now this is last step where you can install Voyager by running following command :
php artisan voyager:install
After running above command you will see in your database there will be several defaults table in your database with admin user credential.
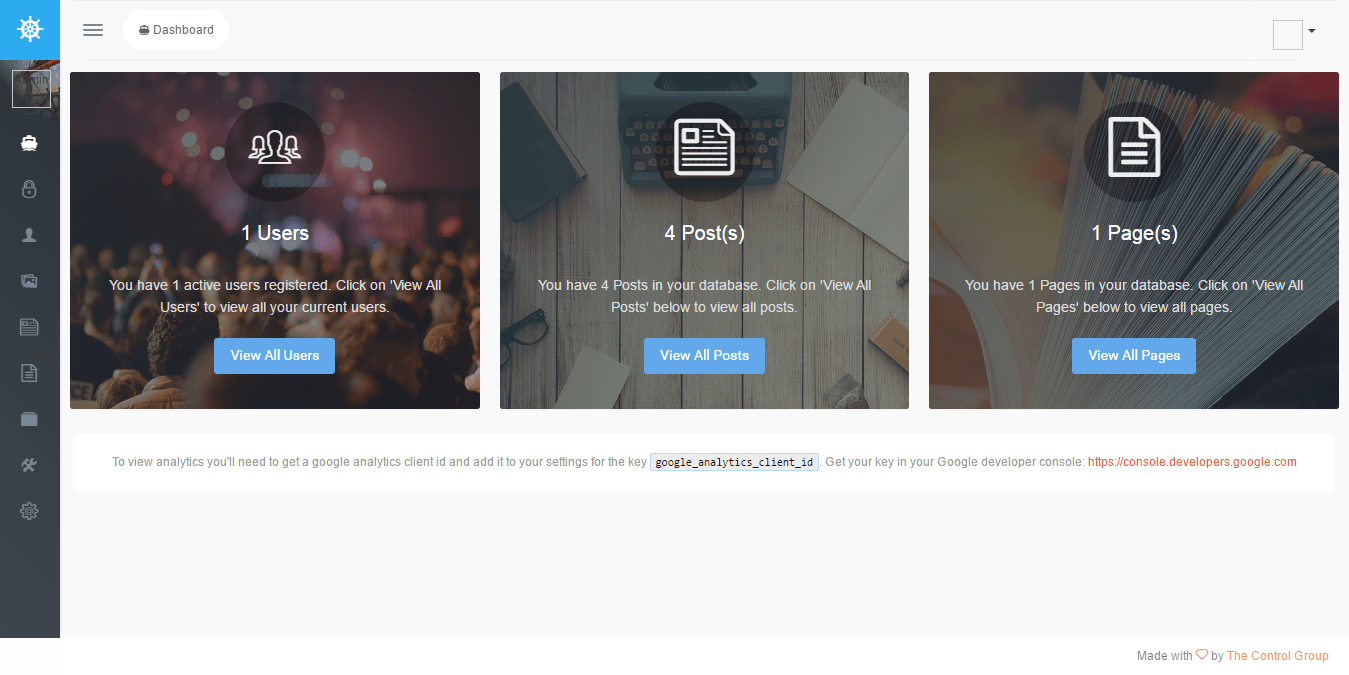
Now set up a local server with php artisan serve command and visit http://localhost:8000/admin/login
.
You will ask for admin login details once you will visit above url and you will have default admin credential :
**email:** admin@admin.com
**password:** password
Screenshot for login pannel :
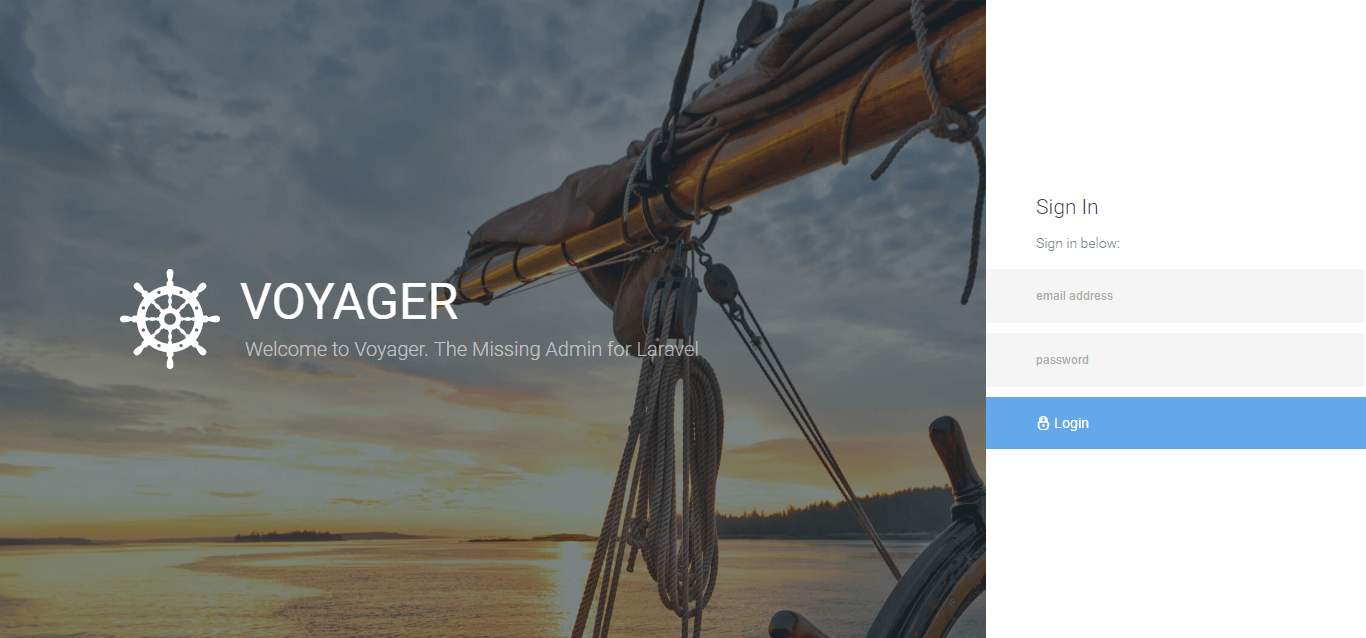
Once you login with given login details you will be redirected to dashboard.
Make sure if you face any error related file path then you will see there will be a config/voyager.php file. You can modify assets_path and storage path easily there.
For more information on Voyager check out the it's documentation


.jpg)